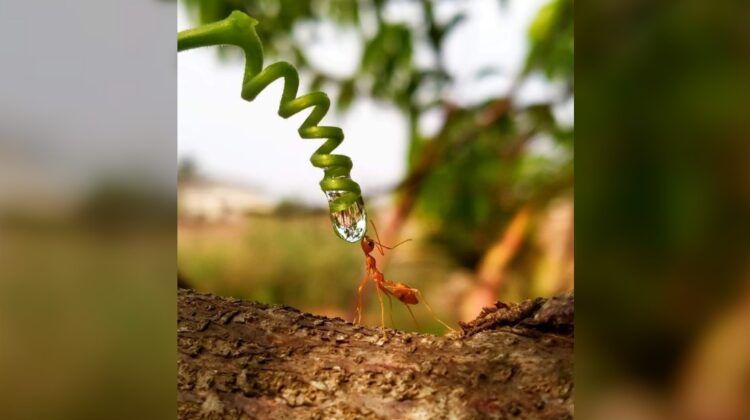
Macro photography unveils a world that often goes unnoticed — the intricate details of life at a miniature scale. A single droplet of water clinging to a leaf, the compound eyes of a housefly, the texture of a butterfly’s wing: macro photography turns these overlooked details into the main subject.
Picture an ant delicately sipping from a droplet of water, perfectly proportioned to its size. It’s not just a photograph — it’s a reminder that even the smallest creatures have a story worth focusing on.
What Makes a Photo “Macro”?
Technically, macro photography means capturing a subject at life-size (1:1) or greater magnification on the camera’s sensor — meaning a small insect can fill the entire frame just as it would appear in real life, or larger. This is different from simply zooming in close with a regular lens; true macro requires equipment built for extreme close focusing.
Gear You’ll Need to Get Started
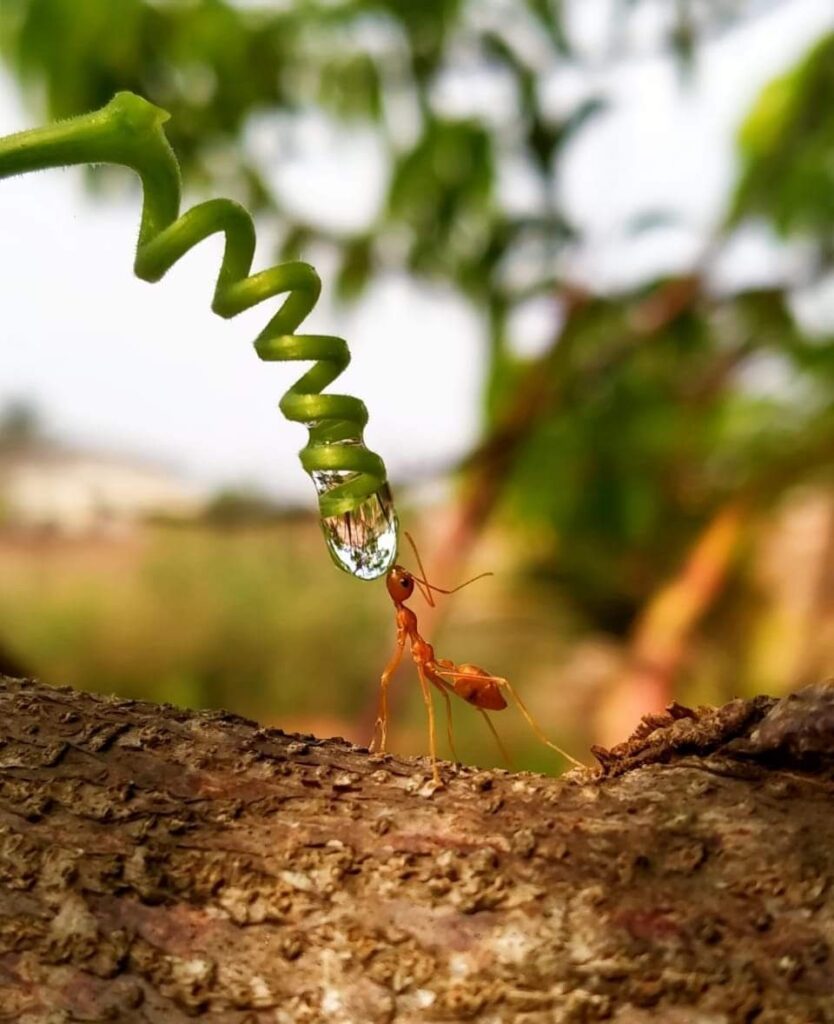
A macro lens is the most direct route into the genre. Dedicated macro lenses (commonly in the 60mm, 90mm, or 100mm range depending on brand) are designed to focus at very close distances without distortion. Longer focal lengths (90–105mm) give more working distance from skittish subjects like insects, which matters more than it might seem.
Extension tubes are a budget-friendly alternative — hollow tubes that fit between your existing lens and camera body, letting a regular lens focus much closer than it normally could. They’re a fraction of the cost of a dedicated macro lens and a common way photographers test whether they enjoy the genre before investing further.
A tripod matters more in macro than almost any other genre — at extreme close focus, even tiny camera movements cause visible blur, and macro photographers often work with narrow apertures that require longer shutter speeds.
A ring light or macro flash solves one of macro photography’s core problems: at close range, the lens itself often blocks natural light from reaching the subject. A flash mounted around the lens (a ring flash) or twin small flashes on either side evenly light the subject without harsh shadows.
Core Technique Tips
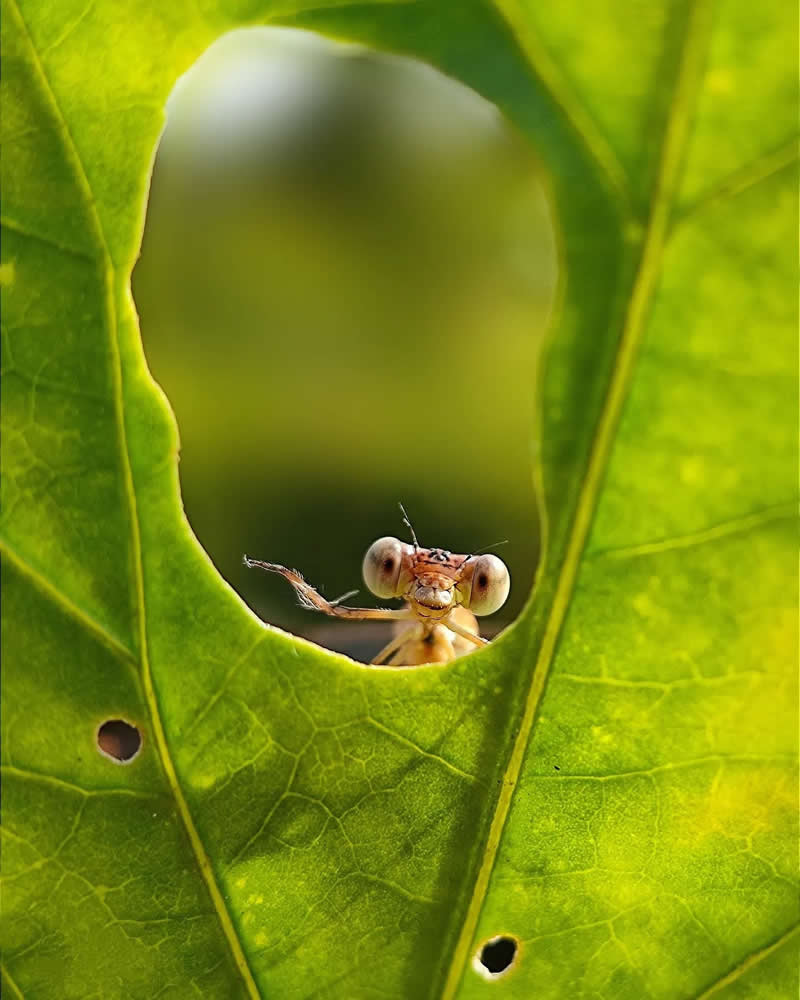
- Use a narrow aperture (high f-number, like f/11–f/16) — at macro distances, depth of field becomes razor-thin, sometimes just millimeters. A narrower aperture helps keep more of the subject in focus.
- Focus manually — autofocus often hunts and fails at extreme close range; most macro photographers switch to manual focus and physically move the camera slightly forward and back to nail focus instead of relying on the focus ring.
- Shoot early morning — insects are slower and less active in cooler morning temperatures, making them easier subjects, and morning dew adds natural detail to leaves and webs.
- Watch your shadow — at such close range, it’s easy to accidentally block your own light source or spook a live subject with a sudden shadow falling across it.
What to Photograph
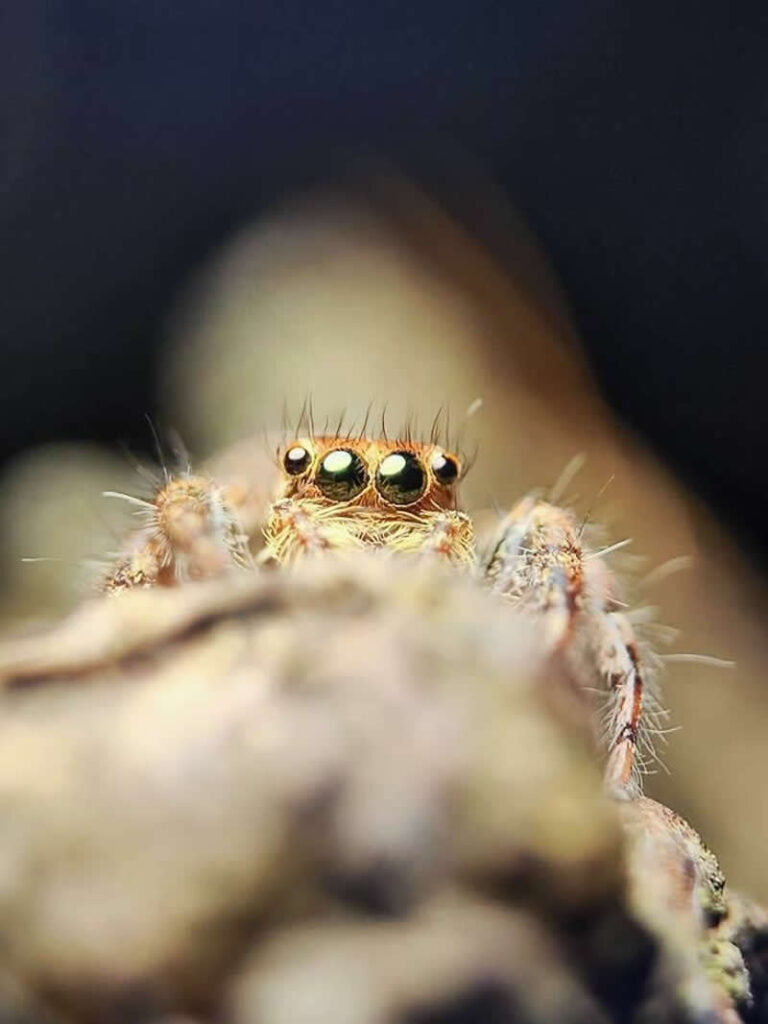
Classic macro subjects include insects (ants, bees, dragonflies), water droplets on leaves or spider webs, flower stamens and pollen, textures like tree bark or feathers, and everyday household objects that reveal unexpected detail up close — a strand of hair, a grain of salt, or the surface of a coin.
Why It’s Worth Trying
Macro photography rewards patience more than expensive gear. A steady hand, good light, and a willingness to get close to the ground (literally) often matter more than the camera body itself. It’s one of the few photography genres where a smartphone with a clip-on macro lens can produce genuinely striking results, making it an accessible entry point for anyone curious about the hobby.
Frequently Asked Questions
Do I need an expensive camera to start macro photography? No — extension tubes or a clip-on macro lens for a smartphone are inexpensive ways to try the genre before investing in a dedicated macro lens.
Why do my macro photos come out blurry even with a tripod? At macro distances, even air currents or a subject’s slight movement can cause blur — using a narrower aperture and, where possible, a remote shutter release or timer to avoid touching the camera during the shot both help.
What’s the best time of day for macro insect photography? Early morning is generally best — cooler temperatures make insects less active and easier to photograph, and morning dew often adds extra visual detail.
Leave a Reply